Why can a pore look dark?
A blackhead can form when oil and dead skin cells collect inside a pore. At an open pore, contact with air makes the buildup look dark. The dark color is not simply surface dirt.
U.S. warehouse orders arrive within 3–5 business days.
Risk-Free Orders.
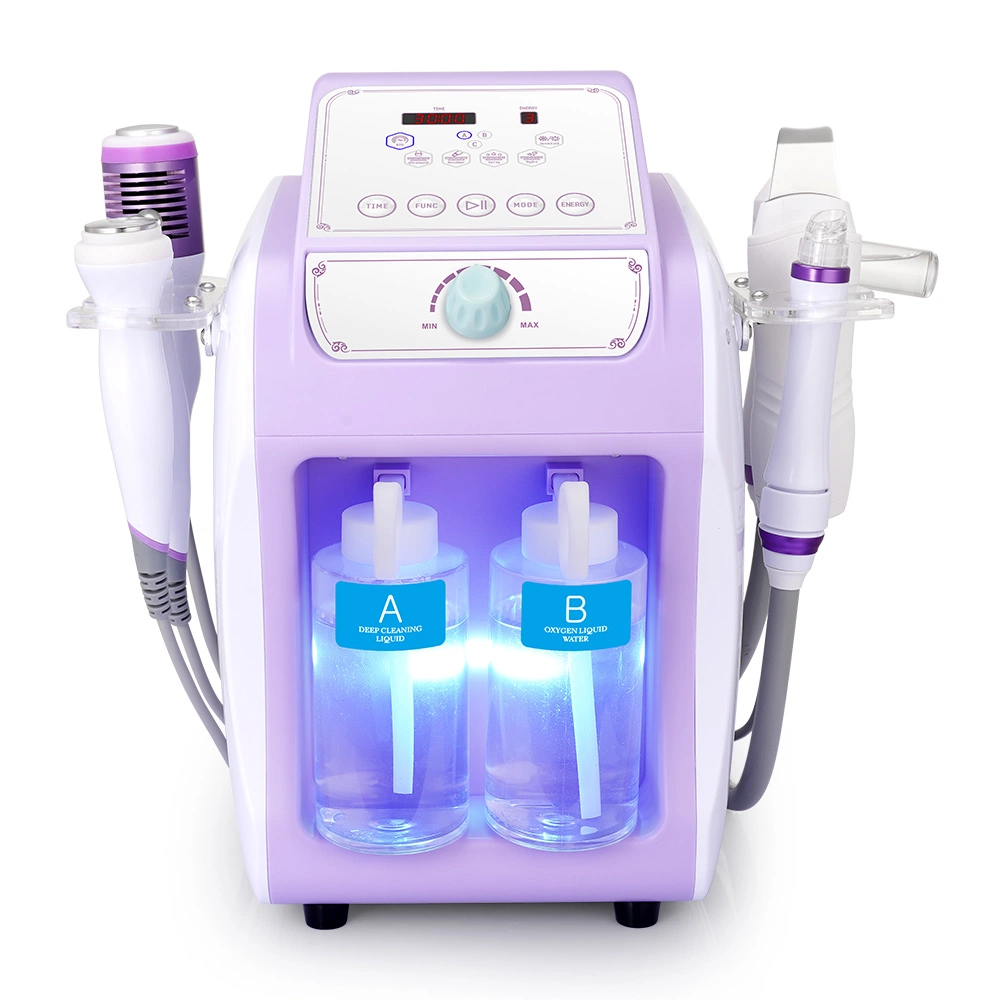
Meet SR-AF1323
Meet liquid-assisted Hydro cleansing and wet-skin surface exfoliation. Then explore the skincare and finishing steps that suit your skin. SR-AF1323 brings six dedicated handpieces together, with walkthroughs to help you choose and get started.
Start with your concern
Blackheads, surface oil and rough-looking texture are different concerns. Begin by understanding the concern, then choose an appropriate cleansing step.
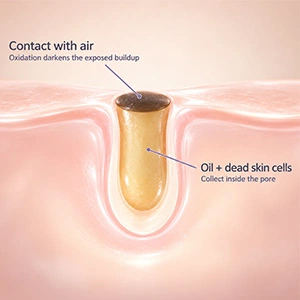
A blackhead can form when oil and dead skin cells collect inside a pore. At an open pore, contact with air makes the buildup look dark. The dark color is not simply surface dirt.
SR-AF1323’s Hydro function uses compatible liquid and adjustable suction to cleanse surface oil and loosened pore-area buildup. It is a cosmetic cleansing step; inflamed or painful acne needs assessment by a qualified clinician.
Pore education: American Academy of Dermatology
Choose Hydro for solution-assisted cleansing. Liquid reaches the contact handpiece while suction carries used solution and loosened surface debris into the waste bottle.
Use the ultrasonic scrubber on prepared wet skin for surface cleansing and exfoliation. The flat spatula works directly at the skin surface.
Use Spray to distribute a compatible diluted skincare liquid, or add a contact-care step with Ultrasound or BIO and its corresponding medium.
A clearer picture
Fresh solution reaches the Hydro contact area. Adjustable suction carries used liquid and loosened surface material toward the waste bottle. The scrubber offers a separate wet-skin exfoliation step.
Hydro uses solution and suction; the scrubber uses a vibrating spatula on wet skin.
Spray distributes compatible liquid skincare. Ultrasound and BIO each use their own contact medium.
Choose appropriate steps and reassess the skin. Every facial does not need all six functions.
See the actual system
Explore the machine, its setup and the way the handpieces are used. Start with the walkthrough that answers your question.
Video from the myChway channel. Open on YouTube
Meet the handpieces
Start with the role you need, then open the card for preparation, controls and the permitted areas.
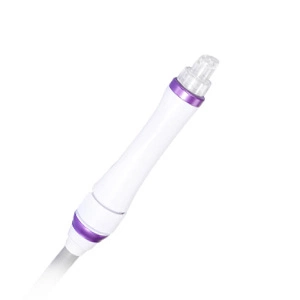 Facial cleansingHydroA solution-assisted cleansing handpiece with adjustable suction and waste-liquid recovery.View detailsHide details
Liquid reaches the contact surface while suction carries used liquid and loosened debris toward the waste bottle.
Choose for solution-assisted cleansing of surface oil and loosened pore-area buildup.
Prepared forehead, nose, chin and cheek areas in the facial cleansing routine. Select the appropriate tip and suction for the area.
Fill the selected clean bottle with compatible Hydro solution and keep the pickup-tube end submerged.
Select Hydro and the clean bottle. Check water flow and set appropriate starting suction.
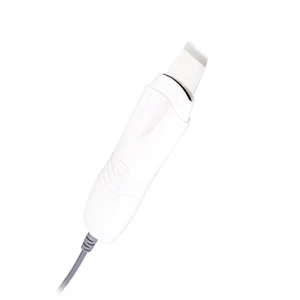 Wet-skin exfoliationSkin scrubberAn ultrasonic vibrating spatula for surface cleansing and exfoliation.View detailsHide details
The flat contact surface vibrates against prepared wet skin. It works directly at the surface, with no waste-liquid recovery path.
Choose for the wet-surface exfoliation stage of the facial.
Prepared wet skin where a surface-cleansing step is appropriate.
Keep the surface moist; do not scrape dry skin.
Select Scrubber and check its own time, energy and mode settings.
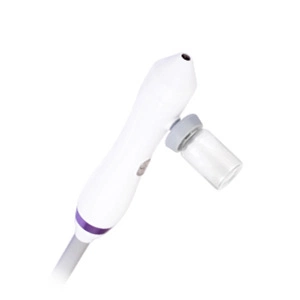 Liquid skincareSprayA spray handpiece for applying a compatible diluted skincare liquid.View detailsHide details
Airflow disperses the prepared liquid through the nozzle. Compatible dilution and a post-use water flush help keep the spray path clear.
Choose for an evenly distributed liquid-skincare application.
The liquid-skincare step after cleansing.
For the Spray handpiece, mix 1 part compatible skincare serum with 10 parts saline solution (1:10).
Select Spray, check its switch and cup connections, then follow the spraying instructions.
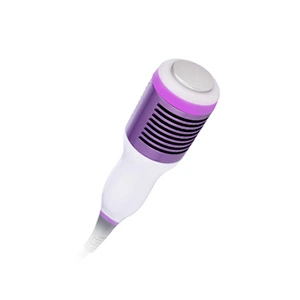 Temperature-based finishingHot & coldOne handpiece with both hot and cold modes.View detailsHide details
The contact handpiece changes temperature according to the selected mode. Cold is used with skincare essence in the facial finishing sequence.
Choose Cold for a cool-feeling finish in the facial routine.
The selected temperature-based skincare step. Keep clear of the air outlet during operation.
Use the medium specified for the chosen mode; the Cold facial step uses skincare essence.
Choose Hot & Cold, confirm Cold or Hot, and check the corresponding settings before contact.
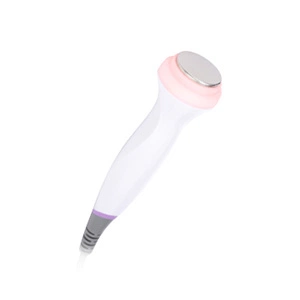 Ultrasound contact careUltrasoundA dedicated 1 MHz ultrasound probe for contact skincare.View detailsHide details
Ultrasound reaches the prepared contact area through a compatible gel. Maintain contact and follow the probe’s movement instructions.
Choose the ultrasound contact-care option when it fits the facial plan.
The contact-care step after cleansing and the selected finishing stages.
Apply compatible gel; do not use on dry skin.
Select Ultrasound and check its time, energy and mode settings.
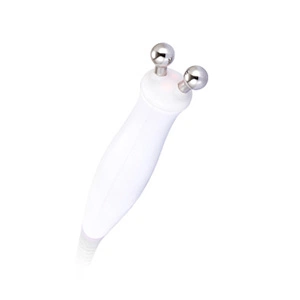 Microcurrent contact careBIOThe dedicated BIO microcurrent handpiece.View detailsHide details
The handpiece provides an electrical skincare function through the prepared, moist contact surface.
Choose the electrical-contact option within the facial routine.
The BIO facial-care step before the mask and skincare finish, following suitability screening.
Use skincare essence or the compatible medium specified for BIO.
Select BIO and check its time, energy and mode settings.
Skin scrubber: Keep the surface moist; do not scrape dry skin. Ultrasound: Apply compatible gel; do not use on dry skin. Hot & cold: Keep clear of the air outlet during operation.
Your first steps
Prepare the right handpiece and follow the operating instructions for your model.
Make the connection
Screen→remove makeup and cleanse→moist preparation→Hydro→reassess→skincare finish.
Choose the appropriate tip and starting suction for the area. Reassess the skin before adding another cleansing step.
Prepare→Hydro→Scrubber→Spray→Cold→Ultrasound with gel→BIO with skincare essence→mask and skincare finish.
Select the appropriate steps for the skin. A complete sequence is available when needed; every facial does not need all six handpieces.
Prepared skin→compatible medium→Ultrasound or BIO→mask or topical skincare finish.
Prepare gel for Ultrasound and skincare essence or the specified medium for BIO. Use the selected handpiece’s own controls.
Keep your routine going
Clean both fluid paths after use, then power down to clean and dry the contact surfaces. Hydro and Spray each have their own flushing step.
MYCHWAY U.S. support
Beauty technology, made clearer to choose, use, and keep.
Tell MYCHWAY which area or routine you are considering and ask about the model, preparation and suitability.
Ask a questionWatch the model walkthrough and use the operating instructions to prepare the right handpiece and medium.
See the walkthroughsCheck the applicable main-unit warranty and return terms, and contact support if a function needs attention.
Read the warrantyA useful first check
| What you notice | What to check | Your next step |
|---|---|---|
| Hydro has suction but no solution flow | The clean bottle may be empty, the pickup-tube end above the liquid, the flow incorrectly set or the clean-bottle seal missing. | Stop and check liquid level, submerged pickup tubing and bottle seals, then the documented flow control. Do not compensate by increasing suction on skin. |
| Hydro has weak or no suction | Filter installation, plug alignment, tip seals or waste-bottle seating can interrupt the vacuum path. | Stop the function and inspect those external connections. If the components are correctly installed but suction remains absent, contact support. |
| Spray produces little or no mist | The function switch, cup/plug connection or product viscosity may be involved. | Check selection and connections; confirm a compatible dilution. Perform the pure-water rinse. Persistent blockage requires the nozzle-cleaning instructions from support. |
| Cold/hot or electrical contact feels uncomfortable | The chosen mode, contact or skin suitability may need reassessment. | Stop the function and reassess the selected handpiece, medium and screening. Do not continue merely because a preset or display is active. |
Understand the configuration
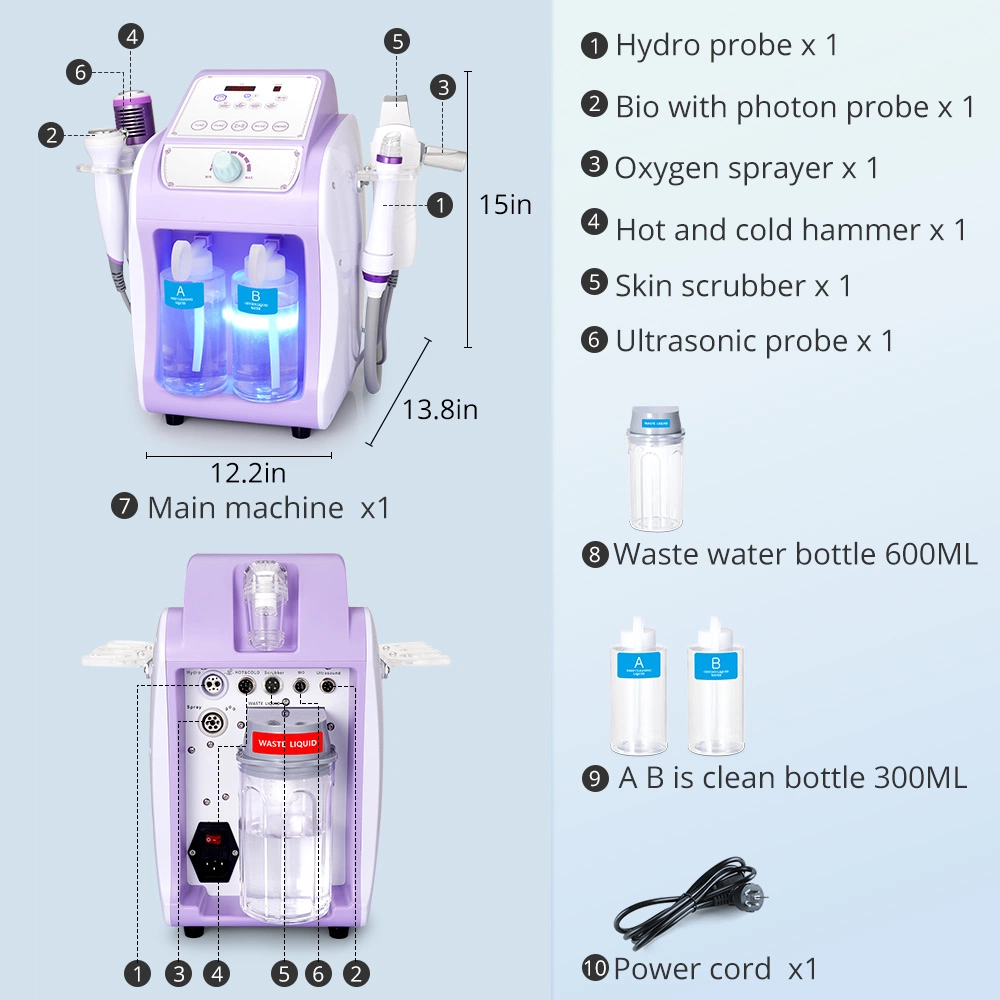
| System configuration | Six dedicated handpieces |
|---|---|
| Hydro setup | Clean-solution containers and a separate waste bottle |
| Temperature function | Hot and cold modes in one handpiece |
| Ultrasound probe frequency | 1 MHz |
| Skin scrubber frequency | 24 kHz |
| BIO frequency | 62.5 Hz |
Questions before choosing
Choose Hydro for solution-and-suction cleansing of surface oil and loosened pore-area debris. The scrubber provides a separate wet-surface cleansing and exfoliation step.
The scrubber is a flat spatula for surface cleansing and exfoliation on wet skin. The ultrasound probe is a separate contact-care handpiece used with compatible gel.
Use compatible Hydro solution in the selected bottle and keep the pickup-tube end submerged. Secure the bottle and its seal before starting the function.
For the Spray handpiece, mix 1 part compatible skincare serum with 10 parts saline solution (1:10). Thick or incompatible products can interrupt spraying. Rinse pure water through the spray cup after use.
Flush Hydro with clean water using the repeated cover-and-release cleaning action for two minutes. Flush Spray separately by spraying all the pure water from its cup. Then stop, switch off and disconnect before wiping surfaces.
Both modes share one handpiece. Select the intended mode on the screen; the Cold step in the facial sequence uses skincare essence.
Choose the steps that suit the assessed skin and facial plan. Begin with the appropriate cleansing step, reassess, then add the selected skincare and finishing functions.
Choose with confidence
Explore the function, watch the system and ask MYCHWAY about the right preparation for your routine.
Cancel
*Shop inUSD
*Get shipping opitons for
Change shipping Country

Thank you for submitting your details! 🎉
For faster assistance, click here to chat with us on WhatsApp

We’ll be happy to help you right away!
Exit